Vulnerability scanning is the automated process that security teams conduct to identify weaknesses in systems before attackers find them. This is a critical first line of defence — fast, efficient, and identifying outdated software, open services, and misconfigurations, security teams consider scanning to be a critical way to reduce risk, achieve compliance, and prioritise where to patch first.
In 2025, organisations will increasingly rely on continuous scanning, due to networks, cloud services, and applications changing very quickly; for example, acquiring new companies, mergers, new staff onboarding, etc. Vulnerability scanning is like an ongoing health check for an organisation’s IT environment that leads to action and not just another report to throw in the filing cabinet.
Last year, there was such extreme and fast-paced growth in the industry; updates to tools show that vulnerability scanning is still a top focus for security teams this year.
What Is Vulnerability Scanning?
Vulnerability scanning is an automated method of examining devices, servers, cloud resources, and applications for known vulnerabilities. Scanning tools examine each component that they can access and compare these findings against the vulnerability databases and CVE entries, including missing patches, poor security configurations, and risky services.
This method should not be confused with penetration testing, which examines fewer vulnerabilities, generally in more detail and manually. There are external scans (as the attacker would see), internal scans (your internal network), web app vs non-web app scans, and host scans.
Many modern scanning solutions utilise integrated threat intelligence for better prioritisation of vulnerabilities. Scanning does many things and ultimately finds a ton of issues that would need human validation to clear false positives and prioritise remediation efforts.
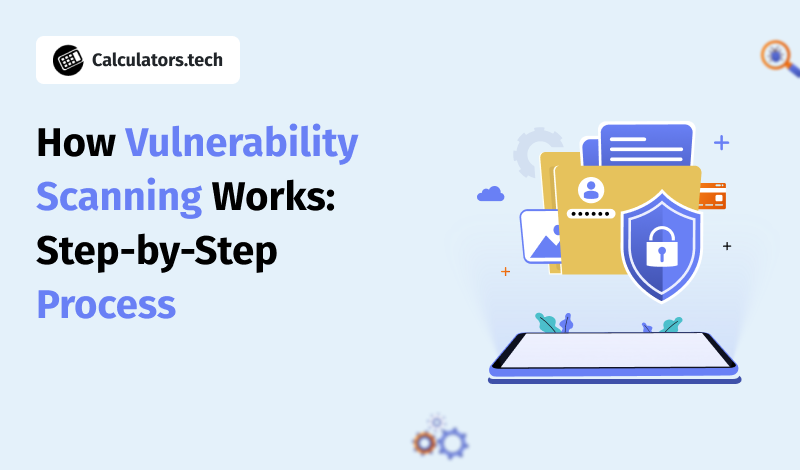
Step-by-Step Process of Vulnerability Scanning
Before we walk through the five steps, it is important to remember that a good scan process is a repeatable, reliable method of remediating risks. Scanning is only useful when the scan results are turned into prioritised remediations, and when the scanning occurs frequently enough to catch recurring issues. In 2025, many teams will automate scanning as part of their toolchain for cloud inventories and development pipelines to keep pace with changes made since the last scan.
Step 1: Asset Discovery
If you don't know it exists, you can't scan it. In order to scan effectively, an asset discovery that finds every device, cloud instance, container, application, IP address, and service in your environment is necessary. Good asset discovery tools will integrate with cloud APIs, configuration management databases (CMDB), endpoint management tools, etc., so the scanner has all of the most up-to-date information available.
Asset discovery tools will also tag the assets by criticality (production vs. development), which can help with prioritisation later in the process. If the discovery phase is inaccurate, the scan will either produce noise or omit critical systems. This is a deliberate phased process, and it's important to understand what information the scanner will use to provide results.
Step 2: Scanning Configuration (scope & mode)
Determine what you want to scan, how often you want the scan performed, and whether you are going to perform authenticated or unauthenticated scans. Multiple choices need to be considered: external vs. internal scope, authenticated (requires credentials) vs. unauthenticated (no credentials), and full vs. light scans.
These choices will influence the results of the scan. Authenticated scans go deeper and get more accurate findings (where the scanner can see installed software and configurations), and they also require secure credentials management.
When scheduling a scan, consider business hours so that the automated scanning does not affect the systems in question. A good scanning configuration will reduce false positives and make it possible to take action on findings.
Step 3: Vulnerability Detection (execute the scan)
The scanner sends probes to the targets and matches the replies to vulnerability signatures and CVEs. Most of what would be in a "modern" solution includes checking for software versions, open ports, known misconfigurations, web app flaws, container images, and infra-as-code issues.
Most scanners enact the simple probes mentioned above and utilise a complex integration of plugin feeds/scanning, threat intel, and heuristics to expose relevant risks. The runs simply produce an unprocessed list of findings — the quality of detecting and existing signatures matter most here.
Step 4: Review & Triage
Next up, the unprocessed scan results will be triaged to differentiate between true positives and noise, and ranked by risk. Good tools can map vulnerabilities to the context of the asset (business impact, exposure, and exploitation maturity) and enrich results with threat intel.
Prioritisation frameworks can be used to describe which fixes should be addressed first. Use of the review and triage step eliminates waste and allows teams to focus on what could be exploited by an attacker.
Step 5: Reporting
Reports should be clear, short, and include severity, vulnerable asset, the exposure affected, mitigation recommendations/actions taken, and mitigation context or risk. Dashboards show trends and mean time to remediate metrics so you can see if underlying causes are being solved over time.
If you are tracking compliance, include the evidence that proves compliance and the date of the scan of the asset. Actionable reporting means your IT teams can very quickly identify the owner of the asset and what patch, configuration or other recommendation applies to it.
Step 6: Remediation & Mitigation
Remediation means the patching, changing of configurations, or applying of workaround methods you have proposed as mitigation. In some instances, where there are critical exposures, you may apply temporary mitigations in the form of network rules or access restrictions to reduce risk until a full remediation is done.
Integrating scanning with your patch management, ticketing, and remediation process can help speed this step along. You want to reduce the time between the detection of a vulnerability and remediation. Evidence in the industry shows that the faster the remediation, the less chance of it being exploited.
Step 7: Rescanning, Continuous Monitoring
Once fixes have been made, rescanning can verify your closure of the vulnerabilities. Continuous monitoring - frequent scans, cloud discovery, and CI/CD monitoring can all help you stay in front of change.
More teams are embedding vulnerability checks into CI/CD processes that will scan for new code or images as part of the deployment process. Also, continuous tracking of closure contributes to your metrics, reporting, and compliance obligations.
Conclusion
Vulnerability scanning is one of the easiest and most effective ways to be proactive about cyber threats. When considering proper prioritisation and remediation timeframes, vulnerability scanning can eliminate vulnerabilities before an attacker has the chance to exploit them. In 2025, we are fully committed to continuous automated scanning that does not stop at coverage of networks, assets, or servers, and extends to every deployment of cloud, container, and code pipeline. We want to ensure clear conversion of the scan results into meaningful fixes and ongoing protections, and not only reports.